
Are you tired of splashes and stains while cooking? Learning how to make a kitchen apron at home can not only protect your clothes but also add a personal touch to your culinary experience. With over 15 years of experience in crafting and sewing, I’ll guide you through an easy, step-by-step process to create a stylish and functional apron that suits your needs. In this article, you’ll discover essential materials, sewing techniques, and creative design ideas to make your very own apron. Whether you’re a beginner or an experienced sewist, this guide is designed to inspire and empower you to customize your kitchen attire with ease.
Understanding the Basics of Apron Design
Before diving into the process of making a kitchen apron at home, it’s essential to understand the basic design elements. An apron typically features a large front panel, neck straps, and waist ties. The design can vary based on personal preference, functionality, and the level of sewing skills. Consider whether you want a full apron that covers the entire front or a half apron that sits around the waist. Understanding these elements will help you visualize and plan your apron effectively.
Types of Kitchen Aprons
There are several types of kitchen aprons, including full, half, and bib aprons. Full aprons cover the body from chest to knees, providing maximum protection. Half aprons are shorter and typically worn at the waist, ideal for light cooking tasks. Bib aprons, which have a bib-like top, offer a balance between coverage and comfort. Selecting the right type depends on your cooking habits and the level of protection you need.
Materials for Apron Making
Choosing the right material is crucial for comfort and durability. Cotton is a popular choice due to its breathability and ease of washing. For heavier use, canvas or denim can provide additional durability. Consider the weight of the fabric, as thicker fabrics may be more resistant to spills but could feel bulky. Always pre-wash your fabric to prevent shrinkage before starting your project.
Key Points:
- Understand different apron designs
- Choose suitable materials for comfort and durability
Gathering Tools and Preparing to Sew
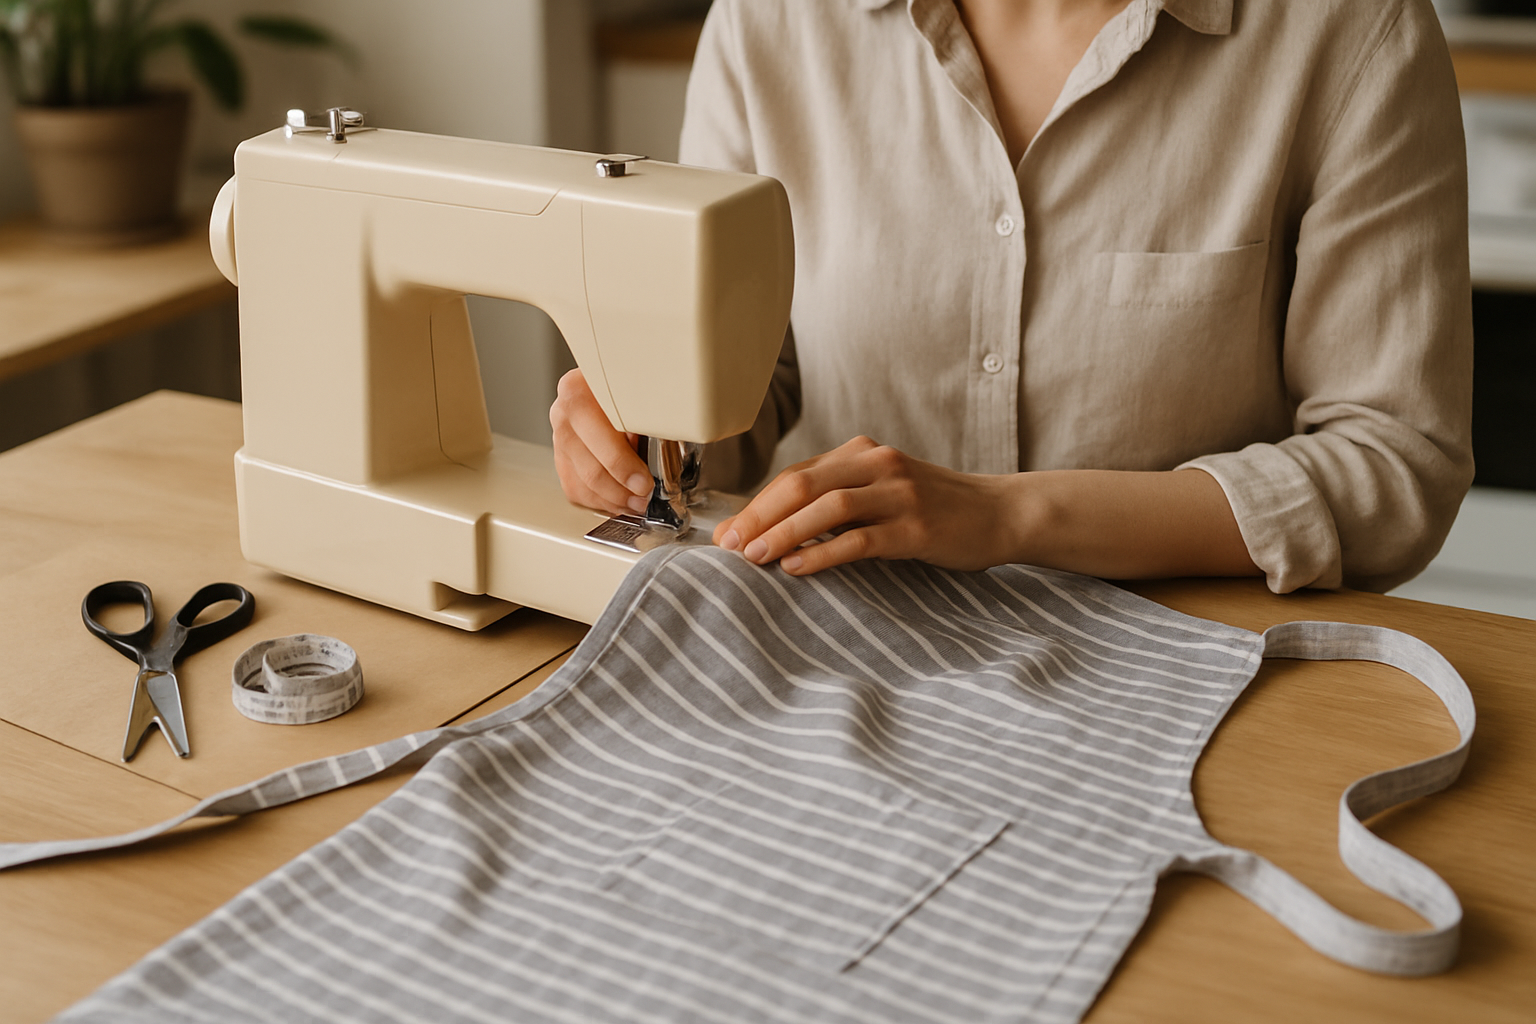
Once you have a clear design in mind, it’s time to gather your tools and prepare for sewing. Essential tools include fabric scissors, a sewing machine (or needle and thread for hand-sewing), measuring tape, pins, and a pattern. If you’re new to sewing, it might be helpful to create a simple pattern using paper before cutting into your fabric. This ensures accuracy and helps visualize the final product before the actual construction begins.
Essential Tools for Sewing
To make a kitchen apron, you will need fabric scissors for cutting, a sewing machine for quicker stitching, or a needle and thread for hand-sewing. Pins are necessary for holding pieces together while sewing, and measuring tape ensures accuracy in sizing. Additionally, having an iron on hand will help smooth out fabric and seams for a professional finish.
Creating a Pattern
Before cutting your fabric, consider making a paper pattern. To do this, measure the desired dimensions of your apron and draw the outline on paper. Include allowances for seams and hems. Cut out your paper pattern, pin it to your fabric, and trace around it. This step minimizes mistakes and ensures that your fabric pieces match perfectly when you sew them together.
Key Points:
- Gather all essential sewing tools
- Create a paper pattern for accuracy
Choosing the Right Fabric for Your Kitchen Apron
Selecting the appropriate fabric is crucial when making a kitchen apron. The fabric should be durable, easy to clean, and comfortable to wear for extended periods. Cotton blends are popular for their absorbency and ease of care. Consider weight and texture; heavier fabrics like canvas provide excellent protection, while lighter fabrics ensure breathability. Think about patterns and colors as well, as they can add personality to your apron while still being functional.
Fabric Types and Their Benefits
Cotton is soft and absorbent, making it ideal for everyday cooking. Denim offers durability and a stylish look, while polyester blends resist stains and wrinkles. Linen is breathable but may require more care. Assess your cooking habits to select the best fabric type for your apron.
Understanding Fabric Care
Knowing how to care for your chosen fabric is essential for longevity. Cotton and polyester can usually be machine washed, but check for any special care instructions. Pre-washing your fabric can prevent shrinkage and ensure the final product fits well.
Key Points:
- Select a durable and easy-care fabric for longevity.
- Patterns and colors can enhance your kitchen aesthetic.
💡 Choose a fabric with a water-resistant coating if you often work with liquids; this can help keep your clothes dry.
💡 Consider a fabric with a fun print or color to brighten your kitchen space; it adds a personal touch while remaining functional.
Constructing the Kitchen Apron: Step-by-Step Guide
Crafting your kitchen apron involves several steps, from measuring to sewing. Start by taking accurate measurements of your waist and desired length. Create a simple pattern using paper or an old apron as a guide. Cut your fabric according to the pattern, leaving extra for seams. Following this, sew the pieces together, ensuring to reinforce areas that will experience more stress, such as the neck and waist ties. Finally, finish the edges to prevent fraying.
Measuring for the Perfect Fit
To ensure a comfortable fit, measure your waist, bust, and the desired length of the apron. Use a flexible measuring tape and take measurements while wearing typical clothing. This ensures the apron will fit well over your attire.
Sewing Techniques for Durability
When sewing, use a straight stitch for seams and a zigzag stitch to finish edges. Reinforce the ties with additional stitching to prevent them from tearing. Consider adding pockets for functionality, ensuring they are securely attached.
Key Points:
- Accurate measurements are key for a well-fitting apron.
- Reinforce stress points to ensure durability.
💡 Use fabric chalk to mark measurements and cutting lines; it helps maintain accuracy without leaving permanent marks.
💡 Opt for adjustable neck straps to accommodate different wearers; this adds versatility and comfort.
EXPERT TIPS Pro Advice
Pre-wash your fabric before sewing
Pre-washing removes any chemicals and ensures the fabric shrinks before the final product is made, preventing future sizing issues.
Use a rotary cutter for precise cutting
A rotary cutter can provide cleaner, more accurate cuts compared to scissors, which is especially helpful for intricate designs.
Incorporate adjustable ties for flexibility
Adjustable ties allow the apron to fit various body types comfortably, increasing usability across different wearers.
Frequently Asked Questions
Conclusion
Creating a kitchen apron at home is a rewarding DIY project that combines practicality with creativity. By gathering the right materials, measuring accurately, and choosing a simple design, you can craft a unique apron tailored to your style. Customize it further for added flair.
🎯 Key Takeaways:
- Gather essential materials like fabric, thread, and scissors.
- Measure correctly for a comfortable fit.
- A simple bib style is best for beginners.
- Customizations can enhance both function and style.
- Pre-wash fabric to ensure durability and fit.
Expert Advice: Embrace your creativity and have fun during the sewing process. Even if you’re a beginner, each stitch brings you closer to crafting a functional and personal kitchen accessory.
Now that you have the knowledge, gather your materials and start creating your own kitchen apron today!
Leave a Reply