
Are you concerned about the safety of your home? Installing home security cameras can significantly enhance your peace of mind, but many homeowners feel overwhelmed by the process. With over 15 years of experience in home security systems, I can guide you through the essential steps to successfully install your cameras. In this article, you will learn about the best practices for selecting camera locations, wiring options, and configuration tips to ensure your system operates optimally. By the end, you will have the knowledge needed to secure your home effectively with a reliable surveillance system.
Understanding the Basics of Home Security Cameras
Before installing home security cameras, it’s essential to understand their various types and functionalities. Home security cameras can be broadly categorized into wired and wireless options. Wired cameras typically offer more stable connections and higher video quality but require more installation effort. Wireless cameras, in contrast, are easier to install and can be placed almost anywhere, but they may suffer from signal interference. Additionally, consider whether you want indoor or outdoor cameras, as outdoor models are built to withstand weather conditions.
Types of Home Security Cameras
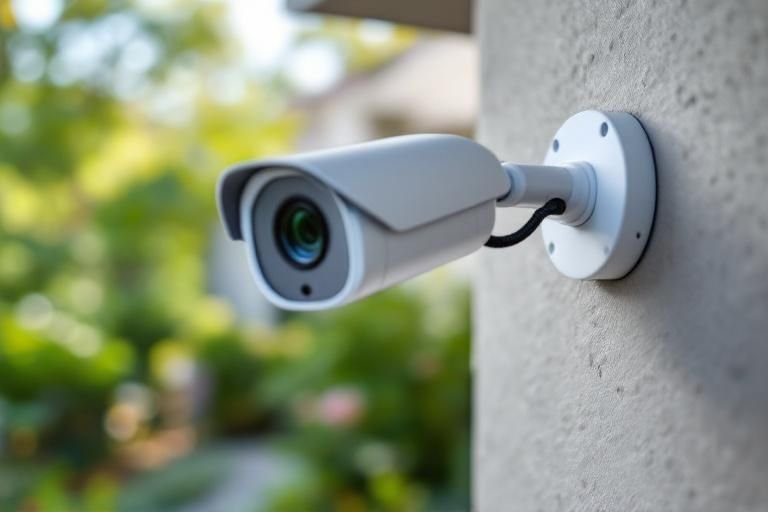
There are several types of home security cameras, including bullet, dome, and PTZ (pan-tilt-zoom) cameras. Bullet cameras are ideal for long-range viewing, while dome cameras have a discreet design suitable for indoor use. PTZ cameras offer flexibility with adjustable angles and zoom capabilities, making them versatile for monitoring large areas.
Key Features to Look For
When selecting home security cameras, consider features like night vision, motion detection, and remote access. Night vision allows for surveillance in low-light conditions, while motion detection helps to alert you of any unusual activity. Remote access via smartphone apps lets you monitor your home in real-time from anywhere.
Key Points:
- Understand the types of cameras available
- Consider essential features for your needs
Preparing for Installation
Once you’ve chosen the right cameras for your home, the next step is to prepare for installation. Begin by selecting the optimal locations for your cameras. Focus on entry points like doors and windows, as well as areas that cover vulnerable spots like driveways and garages. Ensure that the selected locations provide a clear view without obstructions. Additionally, gather all necessary tools and materials for a smooth installation process.
Choosing Camera Locations
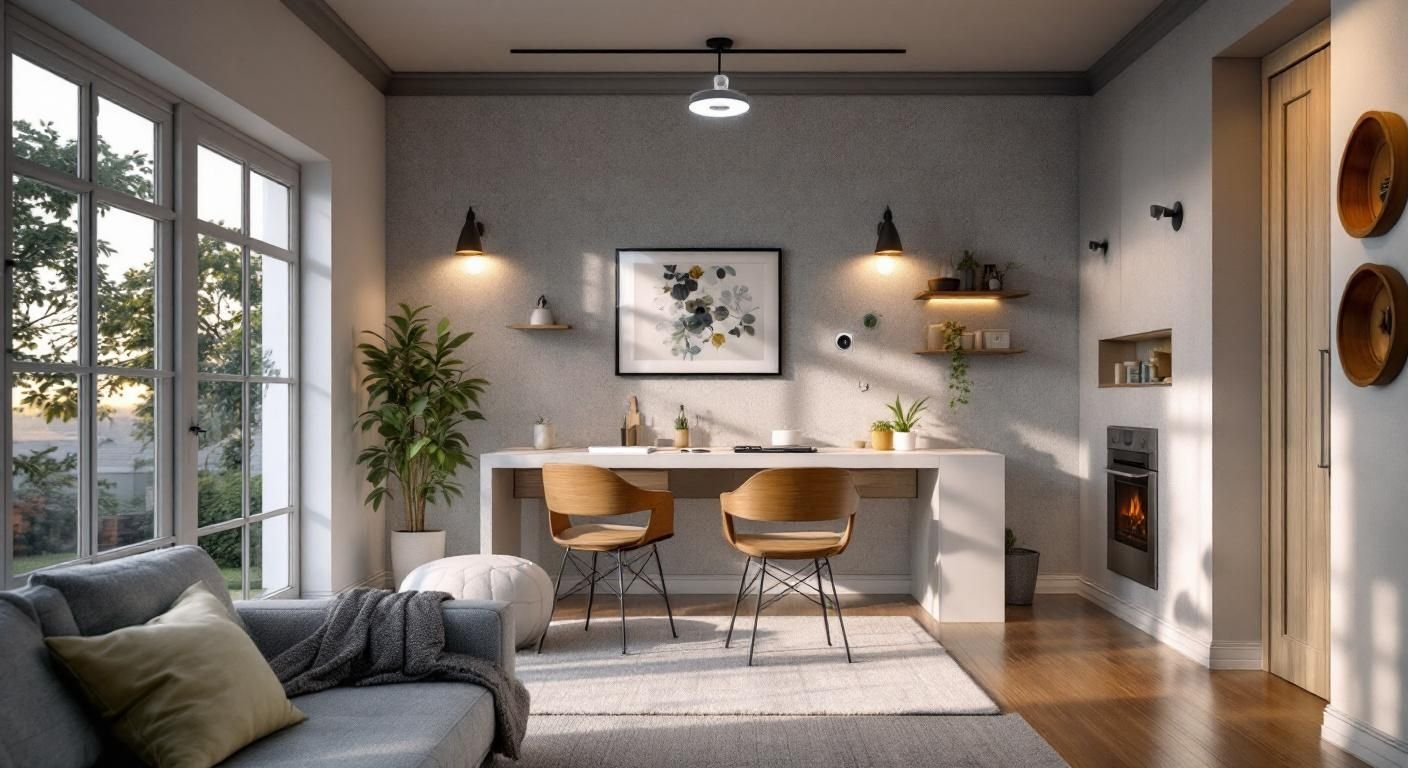
When deciding where to install your cameras, consider factors like coverage area and visibility. Aim to place cameras at an elevated position for a broader field of view. Avoid placing them where they can be easily tampered with, such as near fences or bushes that can obscure the view.
Gathering Necessary Tools
Before starting the installation, gather tools such as a drill, screwdriver, level, and cable ties. Depending on whether you have wired or wireless cameras, you may also need extension cords or power adapters. Having all tools ready will streamline the installation process and help avoid interruptions.
Key Points:
- Identify strategic camera locations for maximum coverage
- Prepare tools ahead of time for efficient installation
Planning Your Camera Installation
Before diving into the installation process, it’s essential to develop a solid plan. Start by assessing your home’s layout to identify potential areas of vulnerability. Consider entry points, driveways, and backyards where security cameras can provide the most coverage. Sketch a diagram of your property to visualize where each camera should be placed for optimal surveillance. Additionally, take into account the camera’s field of view and the distance from the recording device. Ensure that all areas that need monitoring are included in your plan, and think about how each camera will be powered, whether through batteries or wired connections.
Identifying Vulnerable Areas
Focus on the most vulnerable spots around your home, such as entryways, windows, and garages. These are prime targets for intruders and should be prioritized in your camera placement. Also, consider installing cameras near high-value items or areas where you frequently spend time, as this will enhance your overall security.
Determining the Best Camera Angles
Position cameras at angles that maximize their field of view. Ideally, cameras should be mounted at least 8-10 feet off the ground to prevent tampering while ensuring they can capture clear images. Avoid placing them directly in front of bright lights or reflective surfaces to reduce glare and improve image quality.
Key Points:
- Create a detailed plan before installation for optimal camera placement.
- Focus on vulnerable areas and optimal angles to enhance security.
💡 Conduct a thorough risk assessment of your home to identify where security cameras should be installed for maximum effectiveness.
💡 Use a diagram to visualize camera placements to ensure comprehensive coverage.
Executing the Installation Process
Once you have a solid plan in place, it’s time to execute your installation. Begin by gathering all necessary tools, such as a drill, screws, and a ladder. If you’re using wired cameras, ensure you have the proper cabling to connect each device to your recording system. For wireless cameras, confirm that your Wi-Fi signal is strong in the areas you want to install them. Follow the manufacturer’s instructions carefully and make adjustments as needed to fit your home layout. Don’t forget to test each camera’s positioning and connectivity before finalizing the installation.
Installation Steps for Wired Cameras
For wired cameras, start by drilling holes for the power and video cables. Run the cables from the camera location to your recording device or power source. Secure the camera to the wall or ceiling, ensuring it’s stable and properly oriented. Finally, connect the cables and test the camera to ensure it’s functioning correctly.
Installation Steps for Wireless Cameras
For wireless cameras, mount the camera in the desired location and ensure it’s within range of your Wi-Fi router. Power the camera on and connect it to your home network using the camera’s app or web interface. Test the camera’s live feed and adjust the angle as needed to ensure optimal visibility.
Key Points:
- Follow manufacturer instructions carefully for proper installation.
- Test each camera after installation to ensure it is working correctly.
💡 Always test camera angles and connectivity before finalizing your installation to ensure effective coverage.
💡 Use cable management solutions to keep wires organized and prevent damage.
EXPERT TIPS Pro Advice
Utilize a ladder for high placements
Using a ladder allows you to install cameras at appropriate heights, increasing their effectiveness while keeping them out of reach of potential tampering.
Consider weatherproof housing for outdoor cameras
Weatherproof housing protects outdoor cameras from the elements, ensuring they continue to function properly throughout changing weather conditions.
Regularly update camera firmware
Keeping camera firmware updated enhances security and functionality, reducing vulnerabilities that could be exploited by intruders.
Monitor camera feeds periodically
Regularly checking camera feeds ensures they are functioning correctly and helps you stay aware of any unusual activity around your property.
Create a backup of recorded footage
Backing up footage protects against data loss and ensures you have access to crucial evidence in case of an incident.
Frequently Asked Questions
Conclusion
Installing home security cameras can significantly enhance your home’s safety. By choosing the right locations, using the correct tools, and ensuring secure connections, you can effectively monitor your property. Avoid common mistakes and consider professional help if needed for optimal results.
🎯 Key Takeaways:
- Assess locations for optimal camera placement.
- Use appropriate tools for installation.
- Secure your camera footage with strong passwords.
- Consider DIY installation if you’re comfortable.
- Avoid common mistakes for effective surveillance.
Expert Advice: Take your time during installation to ensure everything is set up correctly. Proper planning and execution will lead to a more secure home and peace of mind.
Start planning your security camera installation today by evaluating your home’s vulnerabilities and identifying the best locations.
Leave a Reply