
How to Make Electronic Speed Controller at Home: A Complete Guide
Are you curious about how to make electronic speed controller at home? This project can be a game-changer for hobbyists and DIY enthusiasts looking to enhance their electronic skills. With the growing interest in robotics and remote-controlled vehicles, understanding how to build your own electronic speed controller (ESC) can empower you to take your projects to the next level. In this comprehensive guide, we will walk you through the essential components, step-by-step instructions, and troubleshooting tips to ensure your ESC functions effectively. Whether you’re a beginner or have some experience in electronics, you’ll find valuable insights and practical advice to successfully create your own ESC at home.
Understanding Electronic Speed Controllers
An Electronic Speed Controller (ESC) is a crucial component in electric vehicles, drones, and robotics. It regulates the speed of the motor by adjusting the voltage and current supplied. An ESC can operate in different modes, such as Brushed or Brushless motors, each requiring specific configurations. Understanding the basic principle of pulse width modulation (PWM) is essential, as it allows for precise control of the motor speed through varying signal durations. Knowledge of electronic components like transistors, capacitors, and resistors is also vital for building an ESC, as these elements work together to ensure efficient performance.
Types of Electronic Speed Controllers
There are primarily two types of ESCs: Brushed and Brushless. Brushed ESCs are simpler and typically used in low-cost applications. They operate by adjusting the voltage that drives a brushed motor. In contrast, Brushless ESCs are more complex and provide better efficiency and performance, making them suitable for high-performance applications like drones. Understanding these types helps in selecting the right components for your project.
Key Components of an ESC
The main components of an ESC include a microcontroller, power MOSFETs, and a battery management system. The microcontroller interprets the PWM signal to control motor speed, while MOSFETs act as electronic switches to manage power delivery. Additionally, a good understanding of how to manage heat dissipation is crucial, as excessive heat can damage the components.
Key Points:
- Know the difference between brushed and brushless ESCs
- Familiarize yourself with essential electronic components
Basic Steps to Build Your Own ESC
Building your own ESC requires careful planning and a solid understanding of electronic principles. The first step is to gather necessary components such as a microcontroller, power MOSFETs, and capacitors. Next, you need to develop a schematic that outlines the connections and functions of each component. Following the schematic, solder the components onto a circuit board, ensuring all connections are secure. Lastly, program the microcontroller to interpret PWM signals, allowing it to control the motor speed effectively. Testing is crucial to validate functionality and safety before full-scale use.
Gathering Materials
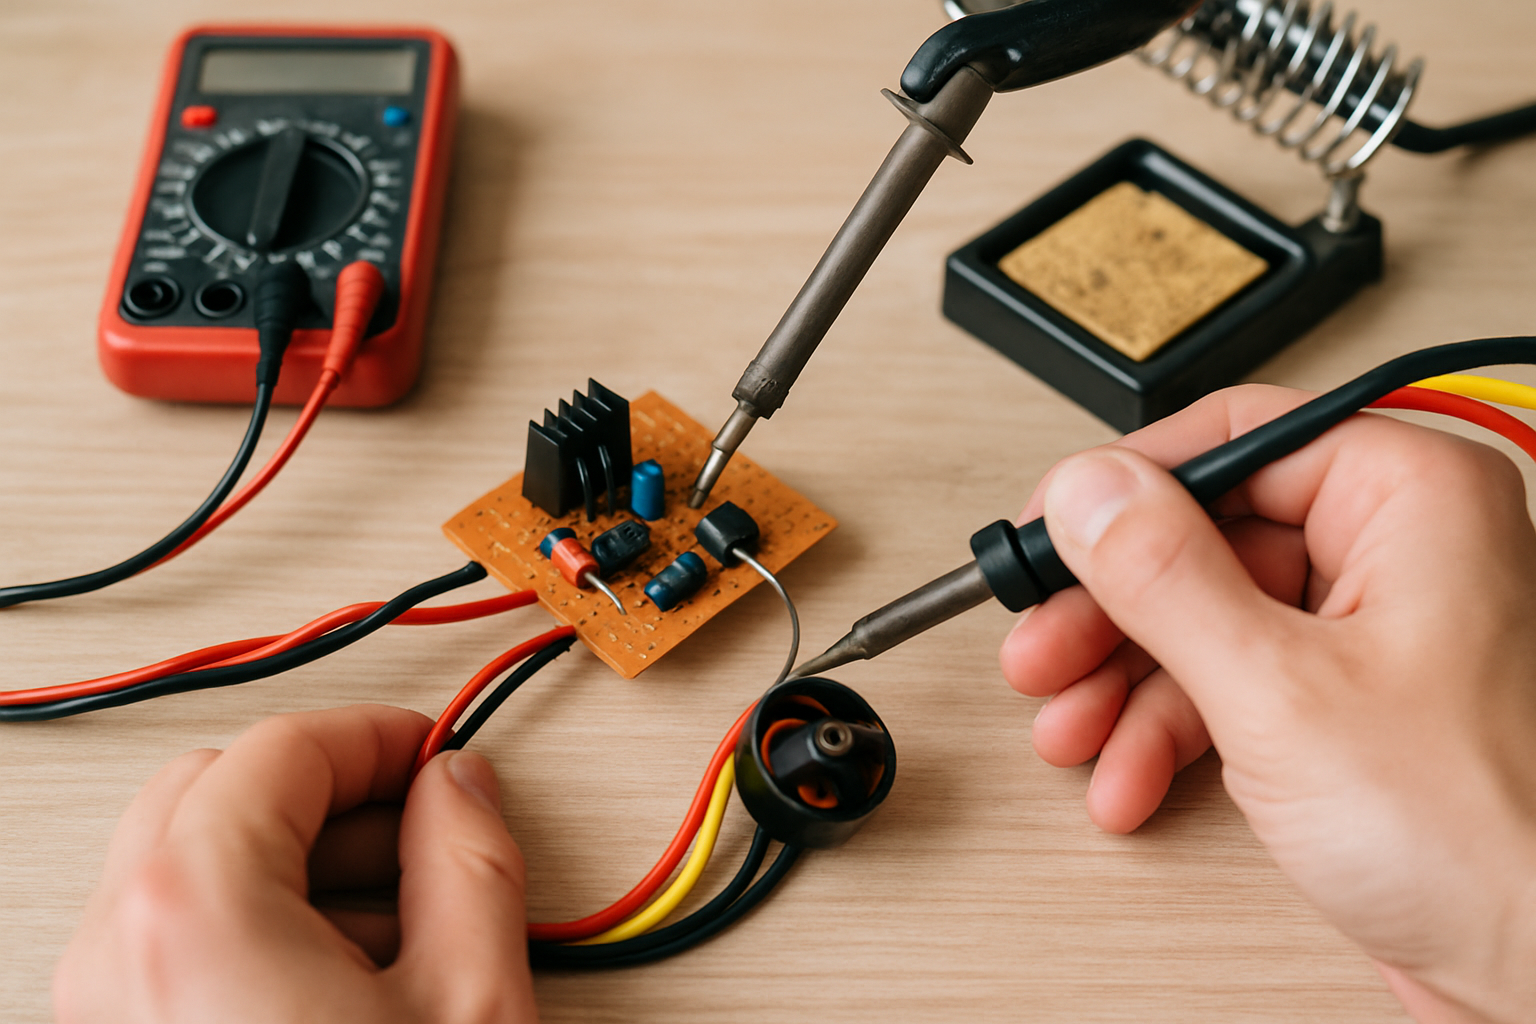
Start by collecting all necessary components, including a microcontroller (like an Arduino), power MOSFETs suitable for your motor’s voltage and current, and passive components like resistors and capacitors. Ensure you have tools like a soldering iron, a multimeter for testing, and a circuit board for assembly. Having all materials at hand streamlines the building process.
Schematic Design and Assembly
Create a schematic diagram that details how each component connects within the circuit. Use software or hand-drawn designs to visualize the layout. After finalizing the schematic, proceed to solder the components onto the circuit board, double-checking connections for accuracy. Proper assembly is foundational for the ESC’s functionality.
Key Points:
- Gather all necessary components before starting
- Create a detailed schematic to guide assembly
Understanding the Basics of Electronic Speed Controllers
An electronic speed controller (ESC) regulates the speed of electric motors, particularly in remote-controlled vehicles. To create an ESC at home, it’s crucial to start with a solid understanding of its components: a microcontroller, MOSFETs, and a PWM signal generator. The microcontroller interprets throttle inputs and manages motor speed by adjusting the voltage supplied to the motor through the MOSFETs. This foundational knowledge will guide you in building your own ESC tailored to your specific needs.
Components Required for DIY ESC
To successfully build an ESC, gather essential components: a microcontroller (like an Arduino), power MOSFETs to handle current, a PWM signal generator, and a power supply. Each component plays a pivotal role, with the MOSFETs acting as switches that control the motor’s power supply based on signals from the microcontroller.
Understanding PWM Signals
Pulse Width Modulation (PWM) is vital for controlling motor speed. By varying the width of the pulses sent to the motor, you can modulate the effective voltage and thus control the speed. A basic understanding of how to generate and manipulate PWM signals is crucial for programming your microcontroller effectively during the ESC setup.
Key Points:
- Understand the roles of each component in the ESC
- Familiarize yourself with PWM for effective speed control
💡 Ensure your MOSFETs can handle the current your motor requires
💡 Use a heat sink on MOSFETs to prevent overheating
Building Your DIY Electronic Speed Controller
Once you grasp the basics, it’s time to assemble your ESC. Begin by connecting your microcontroller to the MOSFETs and set up the PWM signal generator. Code the microcontroller to respond to throttle inputs, ensuring it can handle the full range of motion for optimal motor control. After wiring, test your circuit with a multimeter to confirm all connections before powering it up. Safety precautions, such as avoiding shorts and ensuring proper voltage levels, are critical during this phase.
Wiring and Assembly Instructions
Carefully wire the microcontroller to the MOSFETs, ensuring correct polarity and secure connections. The PWM signal from the microcontroller should connect to the gate of each MOSFET. Use soldering tools for durability and stability. A breadboard can help in initial testing before finalizing the build.
Programming the Microcontroller
Write a simple program to control the motor speed based on input from a throttle. This code should include functions to read PWM signals and adjust the output to the MOSFETs. Testing your code in small increments will help ensure that the ESC responds accurately to the throttle input.
Key Points:
- Follow a systematic approach to wiring and programming
- Testing is essential to ensure functionality and safety
💡 Double-check all connections before powering on
💡 Use a multimeter to verify voltage levels during testing
EXPERT TIPS Pro Advice
Start with a simple microcontroller
Using an accessible microcontroller like an Arduino allows you to focus on learning the basics of ESC programming without getting overwhelmed.
Incorporate safety features
Implementing fuses or current sensors can help prevent damage to your ESC and motor, making your setup safer during testing.
Experiment with different PWM frequencies
Different motors may respond better to varying PWM frequencies; experimenting can improve performance and efficiency.
Document your process
Keeping detailed notes on your build and testing process can help troubleshoot issues and improve future projects.
Seek online communities for support
Joining forums or groups can provide valuable insights and troubleshooting tips from others who have built ESCs.
Frequently Asked Questions
Conclusion
Building an electronic speed controller at home is a rewarding project that enhances your understanding of electronics. By gathering the right components, programming the controller, and following safety protocols, you can create a functional ESC suitable for various applications. Embrace the learning process and refine your skills.
🎯 Key Takeaways:
- An ESC regulates the speed of electric motors for various applications.
- Essential components include a microcontroller, MOSFETs, and a battery.
- Programming is vital for customizing motor control behavior.
- Repurposing old controllers can save costs and provide useful parts.
- Testing requires monitoring voltage and ensuring all components work.
- Safety precautions are crucial to prevent accidents during construction.
Expert Advice: Approach your ESC project with patience and curiosity. Don’t hesitate to experiment with different configurations and settings. Each attempt enhances your skills and understanding of electronics.
Start gathering your materials and dive into the exciting world of DIY electronics!
Leave a Reply