
How to Make Electron Microscope at Home: A Step-by-Step Guide
Have you ever wondered how scientists observe the tiniest details of matter? An electron microscope can magnify specimens thousands of times, revealing structures invisible to the naked eye. But did you know that you can create your own electron microscope at home? In this article, we will guide you through the fascinating process of building an electron microscope, providing you with the knowledge and techniques needed to achieve impressive results. With our expert insights and detailed instructions, you will learn about the materials required, the assembly process, and tips to troubleshoot common challenges. By the end of this guide, you will not only understand how to make electron microscope at home, but you will also gain a deeper appreciation for the science behind microscopy.
Understanding Electron Microscopes
Electron microscopes are powerful tools that use electrons instead of light to magnify objects at a molecular level, offering resolutions much higher than traditional light microscopes. They are essential in fields like materials science, biology, and nanotechnology. Unlike optical microscopes, which rely on lenses to bend light, electron microscopes use electromagnetic lenses to focus electron beams on specimens. This allows for imaging at resolutions below 1 nanometer, which is crucial for observing cellular structures, viruses, and nanoparticles.
Types of Electron Microscopes
There are primarily two types of electron microscopes: Transmission Electron Microscopes (TEM) and Scanning Electron Microscopes (SEM). TEMs transmit electrons through thin specimens, allowing for detailed internal structure analysis. In contrast, SEMs scan the surface of specimens with focused electron beams, creating detailed 3D images of surfaces. Understanding these types is crucial for deciding which one suits your needs if you consider building a DIY version.
Basic Principles of Operation
Electron microscopes operate on the principle of electron interaction with matter. When electrons hit a specimen, they can scatter, creating signals that can be captured to form images. The resolution depends on the wavelength of the electrons, which is much shorter than that of visible light. This section will explore how the vacuum environment, electron sources, and detectors work together to produce high-resolution images.
Key Points:
- Electron microscopes utilize electrons for high-resolution imaging.
- Understanding TEM and SEM is essential for practical applications.
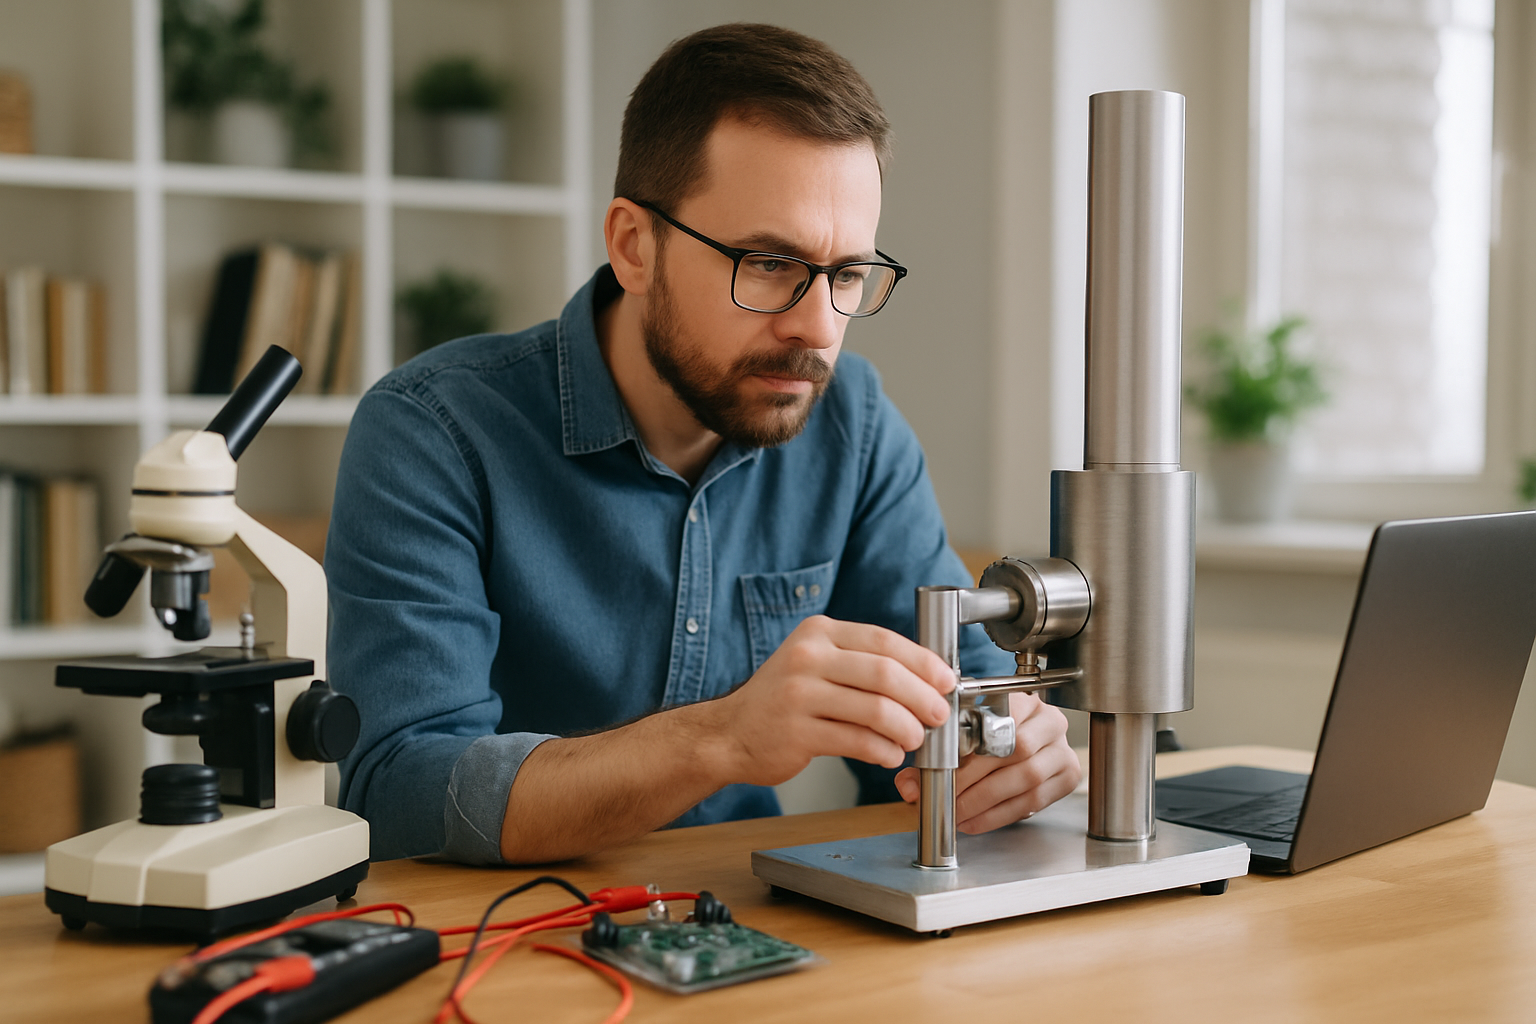
Components Needed for a DIY Electron Microscope
Building an electron microscope at home requires a thorough understanding of its components and their functions. The primary elements include an electron source, a vacuum chamber, electromagnetic lenses, and a detector. Each component plays a critical role in ensuring the microscope can produce viable images. While it’s a complex project, understanding these components helps in sourcing materials and assembling the device correctly.
Electron Source
The electron source generates a beam of electrons, typically using a filament heated to high temperatures or a field emission source. This source must produce a stable and focused beam for effective imaging. Safety precautions are crucial when working with high voltages associated with electron emission.
Vacuum Chamber
A vacuum chamber is essential to prevent electron scattering by air molecules. Creating a suitable vacuum environment allows electrons to travel without interference, increasing the quality of the images produced. Understanding how to construct and maintain a vacuum is vital for the successful operation of a DIY electron microscope.
Key Points:
- Key components include an electron source, vacuum chamber, and lenses.
- Understanding each component’s function is crucial for assembly.
Understanding the Basics of Electron Microscopy
Before attempting to make an electron microscope at home, it’s crucial to understand the fundamental principles behind electron microscopy. This technique utilizes a beam of electrons instead of light to create an image of a specimen. The resolution achieved by electron microscopes is significantly higher than that of optical microscopes, allowing for visualization of structures at the atomic level. At home, you can create a basic electron microscope by using readily available materials, focusing on the electron source and vacuum chamber design.
Principles of Electron Generation
Electrons are generated using a heated filament, which emits electrons through thermionic emission. This process is similar to how incandescent light bulbs operate but requires a vacuum environment to prevent electrons from colliding with air molecules. Understanding this principle is key to building a functioning electron source for your microscope.
Creating a Vacuum Chamber
The vacuum chamber is essential for electron microscopy as it maintains a low-pressure environment. You can create a simple vacuum chamber using a sealed container and a vacuum pump. Proper sealing and ensuring minimal air leakage are critical to maintaining the vacuum necessary for electron travel.
Key Points:
- Understanding electron generation is crucial for building your microscope.
- A vacuum chamber is essential for achieving clear images.
💡 Ensure proper safety measures when working with high voltage to avoid electric shocks.
💡 Consider using a low-power electron source for safer experimentation, especially if new to electronics.
💡 Test your vacuum chamber for leaks with a simple soap bubble test before proceeding.
Constructing Your Home Electron Microscope
Once you grasp the basic principles, you can start constructing your electron microscope. The design involves assembling the electron source, the vacuum chamber, and the detection system. You can repurpose common materials such as old electronics for components, but precision in assembly is vital to ensure functionality. Focus on the alignment of the electron beam and the specimen holder to achieve optimal results.
Assembling the Electron Source
The electron source can be made from a tungsten filament, which is heated to emit electrons. Secure it in a way that allows for fine adjustment of its position relative to the specimen. This alignment is critical for directing electrons effectively onto the sample.
Setting Up the Detection System
After the electron beam interacts with the specimen, a detection system is necessary to visualize the image. You can use a phosphorescent screen or a simple CCD camera to capture the electrons scattered by the sample. Proper calibration of this system will enhance image clarity and resolution.
Key Points:
- Precision in assembly is crucial for the functionality of the microscope.
- Alignment of components greatly impacts the quality of the final image.
💡 Regularly check and calibrate your electron source to maintain consistent electron emission.
💡 Use a stable power supply for your filament to prevent fluctuations that could affect imaging.
💡 Document each step of your assembly process for troubleshooting and future reference.
EXPERT TIPS Pro Advice
Start Small and Scale Up
Begin with a basic design to understand the challenges, then gradually incorporate more advanced features as you gain confidence.
Maintain a Clean Work Environment
Dust and contaminants can significantly affect electron imaging; keep your workspace clean to ensure the best results.
Study Existing Designs
Review existing electron microscope designs and principles to inspire your build and avoid common pitfalls.
Utilize Online Resources and Communities
Join online forums or groups to connect with others who share your interest; they can provide valuable insights and troubleshooting tips.
Frequently Asked Questions
Conclusion
Building an electron microscope at home is a complex task that requires a deep understanding of physics and access to specialized materials. Although it is possible, the challenges are significant. Understanding how electron microscopes function can help appreciate their invaluable role in scientific research.
🎯 Key Takeaways:
- Building an electron microscope requires advanced knowledge and materials.
- Key components include a high-voltage power supply and vacuum chamber.
- Electron microscopes provide higher resolution images than traditional microscopes.
- Safety precautions are critical when handling high-voltage equipment.
Expert Advice: Approach this project with caution and thorough research. Consider collaborating with experts or using educational resources to better understand the complexities involved in electron microscopy.
If you’re interested in microscopy, start by exploring educational resources or joining a local science club to learn more about advanced imaging techniques.
Leave a Reply