
How to Make an Electron Microscope at Home: A Complete Guide
Have you ever wondered how scientists explore the minuscule world of atoms and molecules? Electron microscopes are powerful tools that reveal details beyond the reach of traditional optical microscopes. But did you know that you can create a basic version of an electron microscope at home? In this comprehensive guide on how to make an electron microscope at home, we will explore the principles behind electron microscopy, the materials you’ll need, and provide step-by-step instructions to assemble your very own device. With over 15 years of experience in scientific experimentation, I’ll share practical insights and tips to help you succeed in this fascinating project. Get ready to dive into the world of nanotechnology and discover the unseen!
Understanding Electron Microscopes
Electron microscopes are advanced tools that use electrons instead of visible light to create highly detailed images of small objects. They operate on the principle that electrons have shorter wavelengths than visible light, allowing for higher resolution imaging. This section provides an overview of the types of electron microscopes, their components, and their significance in various fields such as biology, materials science, and nanotechnology.
Types of Electron Microscopes
The two main types of electron microscopes are Transmission Electron Microscopes (TEM) and Scanning Electron Microscopes (SEM). TEMs transmit electrons through a sample to obtain detailed internal images, while SEMs scan the surface to create 3D images. Understanding these types helps in grasping their applications and the level of complexity involved in building one at home.
Key Components
An electron microscope consists of several critical components: an electron source (cathode), electromagnetic lenses, a vacuum chamber, and a detector. Each component plays a vital role in focusing electrons and forming clear images. Knowing these components is essential when considering how to construct a functional model.
Applications and Importance
Electron microscopes are invaluable in research, enabling scientists to study cellular structures, materials, and nanostructures. Their ability to visualize objects at the atomic level has transformed fields like medicine and engineering. Recognizing their importance can inspire DIY enthusiasts to replicate these instruments for educational or hobbyist purposes.
Key Points:
- Electron microscopes use electrons for high-resolution imaging
- TEM and SEM are the two primary types of electron microscopes
Basic Principles of Building an Electron Microscope at Home
Creating an electron microscope at home is a challenging yet rewarding project that requires a solid understanding of physics and engineering principles. The process involves assembling components that can generate and manipulate electrons, which is no small feat. This section outlines the foundational concepts necessary for attempting this complex endeavor, including safety considerations and basic design principles.
Safety Considerations
When working with electron microscopy, safety is paramount. High voltages are typically involved, which can be dangerous if not handled properly. Always use insulated tools, work in a controlled environment, and wear protective gear. Understanding the risks associated with vacuum systems and high-energy electrons is critical to ensure safe construction and operation.
Basic Design Principles
The design of an electron microscope must include a vacuum chamber to eliminate air interference and various lenses to focus the electron beam. A basic design can be approached by understanding how to create a simple electron source, such as a cathode, and how to arrange lenses to focus the beam onto a sample. Familiarity with electronics and precision engineering will aid in this process.
Required Materials and Tools
Building an electron microscope requires specific materials such as conductive metals for the electron source, glass or metal for the vacuum chamber, and precision tools for assembly. Knowing where to source these materials and having the right tools can significantly impact the success of the project. It may also be beneficial to repurpose existing equipment when possible.
Key Points:
- Safety is crucial when handling high-voltage equipment
- Understanding electron optics is key to successful design
Understanding the Basics of Electron Microscopy
To make an electron microscope at home, it’s essential to grasp the fundamentals of electron microscopy. This type of microscopy utilizes electrons instead of light to achieve high-resolution imaging. The key components include an electron source, electromagnetic lenses, and a detector. Understanding how these elements work together is crucial for building your own device. Moreover, consider the vacuum environment needed for electron travel, as electrons can scatter in air, which affects image quality. Familiarize yourself with the principles of electron diffraction and imaging to ensure your design will function effectively.
Components of an Electron Microscope
An electron microscope comprises several critical components: an electron gun, which emits electrons; electromagnetic lenses that focus these electrons; and a detector that captures the images. Each part requires precise construction and alignment to work correctly. The electron gun can be made using a heated filament, while the lenses can be crafted from coils of wire. Understanding the role of each component is vital for troubleshooting and optimizing your microscope’s performance.
The Importance of a Vacuum System
A vacuum system is essential for electron microscopy as it prevents electrons from scattering due to air molecules. Building a vacuum chamber involves using robust materials that can withstand low pressures. You can create a simple vacuum setup using a vacuum pump and airtight seals. Ensure that your vacuum system is tested for leaks to maintain the necessary conditions for high-quality imaging. Without proper vacuum conditions, the resolution and clarity of your images will be significantly compromised.
Key Points:
- Understanding the components and their functions is critical for building an effective electron microscope.
- A proper vacuum system is essential for the successful operation of your homemade electron microscope.
💡 Familiarize yourself with basic electronics and optics to enhance your understanding of how each component works together.
💡 Use online resources and communities for troubleshooting and sharing progress, as many enthusiasts can offer valuable insights.
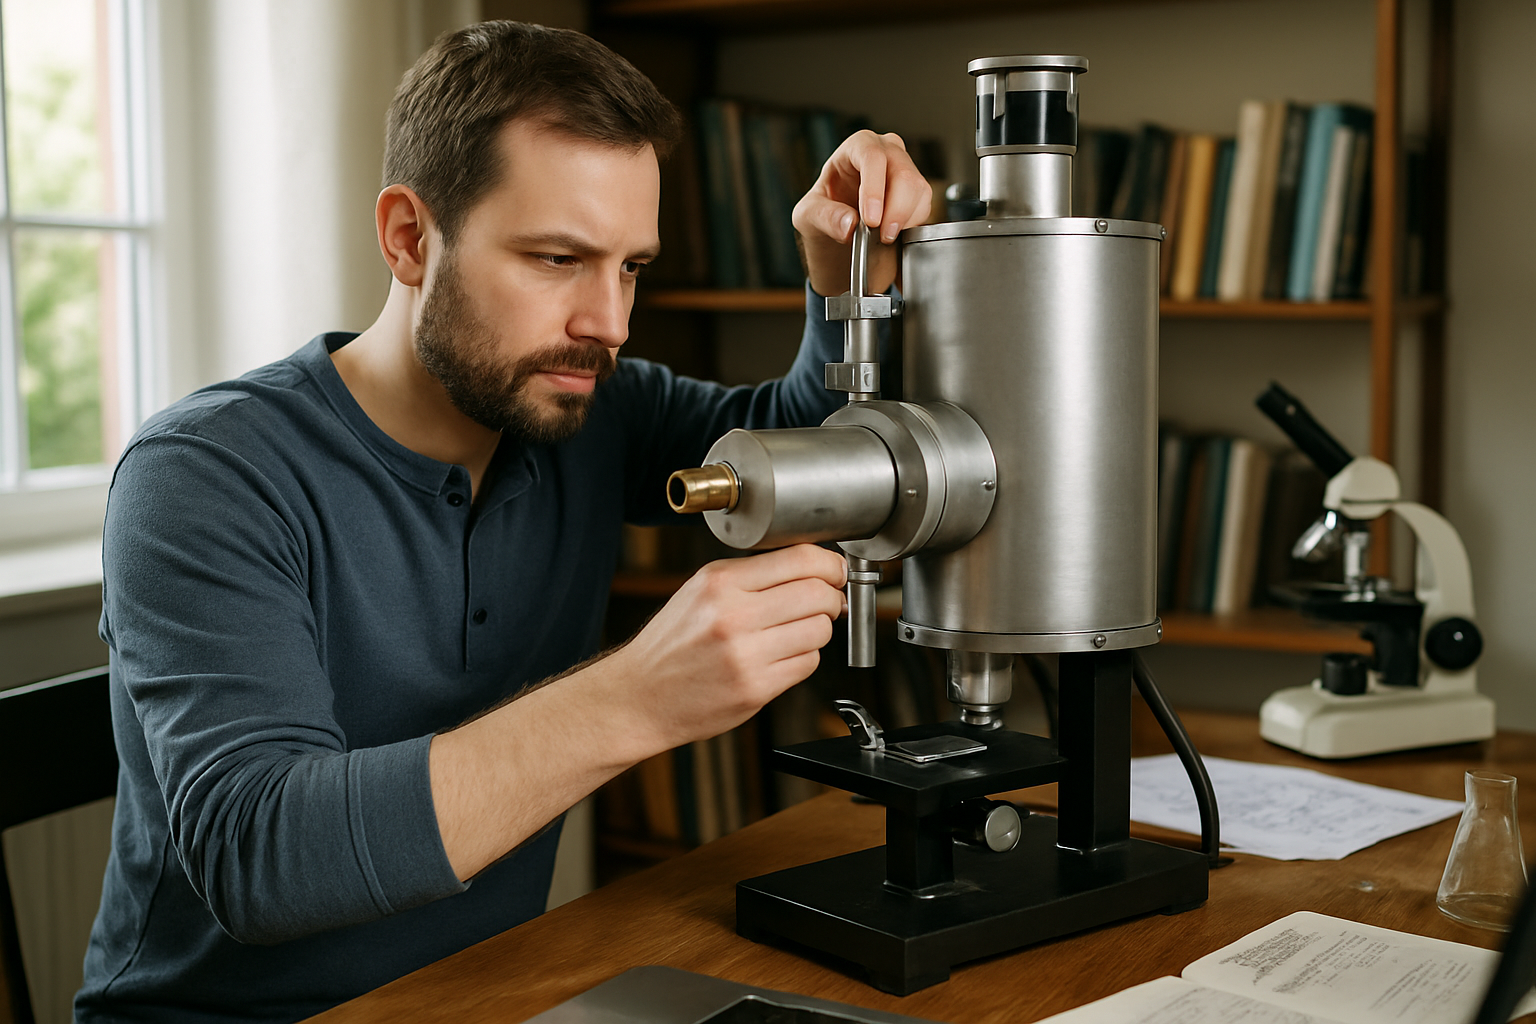
Building Your Homemade Electron Microscope
Once you understand the theoretical aspects, it’s time to start assembling your homemade electron microscope. Begin with a solid base and frame to support all components securely. The process involves careful construction and alignment of the electron gun, lenses, and detector within the vacuum chamber. Precision is crucial, as even minor misalignments can lead to poor image quality. Document every step and keep testing your setup for functionality. Iterative adjustments may be necessary to achieve optimal results. Consider using simulation software to test your designs before physical assembly.
Step-by-Step Assembly Process
Start by constructing the frame of your microscope using sturdy materials. Next, install the electron gun, ensuring it is properly aligned with the lenses. Afterward, position the electromagnetic lenses in their designated places, followed by the detector. Each component should be connected to a power source, and wiring must be done with care to avoid shorts or malfunctions. Finally, integrate your vacuum system, testing for leaks before full operation.
Calibration and Testing
Calibration is a crucial step in the assembly of your electron microscope. Begin by aligning the electron source with the lenses. Use a test specimen to evaluate the imaging capabilities and make adjustments based on the observed results. It may take multiple iterations to achieve the desired focus and resolution. Document any changes made during the calibration process to refine your technique and improve future builds.
Key Points:
- Precision in assembly leads to better imaging performance.
- Calibration is essential for refining the functionality of your microscope.
💡 Keep a detailed log of your assembly process, as this will help you troubleshoot issues and replicate successful designs.
💡 Experiment with different configurations and materials to find the best combination for your specific needs.
EXPERT TIPS Pro Advice
Start with a simple design
Begin with a basic electron microscope model to familiarize yourself with the components and assembly process before tackling more complex designs.
Utilize online tutorials and forums
Engaging with online resources can provide valuable insights and troubleshooting tips from others who have attempted similar projects.
Safety first: Handle all electrical components with care
Ensure you follow safety protocols when working with electrical components to prevent accidents and injuries.
Test each component individually before final assembly
Verifying each part’s functionality can save time and effort during the final assembly and calibration stages.
Be patient and persistent
Building an electron microscope is a complex task that may take several attempts to get right—learning from mistakes is part of the process.
Frequently Asked Questions
Conclusion
Building an electron microscope at home is a complex but rewarding endeavor. It requires a solid understanding of scientific principles, access to specific materials, and adherence to safety protocols. With patience and community support, you can explore the fascinating world of microscopy.
🎯 Key Takeaways:
- Select appropriate materials and tools for construction.
- Understand the working principles of electron optics.
- Prioritize safety with protective gear and proper procedures.
- Engage with communities for support and advice.
- Be prepared for challenges, including sourcing components.
Expert Advice: Approach your project methodically and don’t hesitate to seek help from knowledgeable communities. Document your process and findings to enhance your learning experience.
Start researching and gathering materials today to embark on your electron microscope project!
Leave a Reply