
How to Make Electronic Devices at Home: Your Step-by-Step Guide
Have you ever wondered how to make electronic devices at home? With the rise of DIY culture and the accessibility of materials, creating your own electronic gadgets is more achievable than ever. Whether you’re a hobbyist looking to explore the world of electronics or a beginner eager to learn, understanding the fundamentals is crucial. In this article, we will guide you through essential tools, techniques, and projects that will empower you to build functional electronic devices from scratch. By the end, you’ll have the confidence and knowledge to embark on your own creative electronic endeavors.
Understanding the Basics of Electronics
Before diving into making electronic devices at home, it’s crucial to understand some foundational concepts of electronics. Electronics involves the flow of electric current through various components, which can be used to create circuits that perform specific functions. Familiarizing yourself with basic components, such as resistors, capacitors, diodes, and transistors, is essential. Each component has unique characteristics and roles within a circuit. For instance, resistors limit current flow, while capacitors store electrical energy. Grasping these basics will pave the way for more complex projects and enhance your troubleshooting skills. Additionally, learning about Ohm’s Law and circuit diagrams can greatly aid in understanding how to connect these components effectively.
Essential Components
Understanding essential components is crucial for anyone looking to create electronic devices. Resistors, capacitors, and diodes are fundamental. Resistors control current flow; capacitors store energy for later use; diodes allow current to flow in one direction only. Learning how to read and interpret datasheets for these components will help you choose the right ones for your projects.
Basic Circuit Theory
Basic circuit theory is vital when making electronic devices. Key concepts include voltage, current, and resistance, often summarized in Ohm’s Law (V=IR). Familiarizing yourself with series and parallel circuits can also enhance your understanding of how to manipulate components to achieve desired outcomes. This knowledge is critical for troubleshooting and optimizing your projects.
Key Points:
- Understanding basic components is essential for building circuits.
- Basic circuit theory provides the foundation for more complex electronic projects.
Tools and Materials for Home Electronics Projects
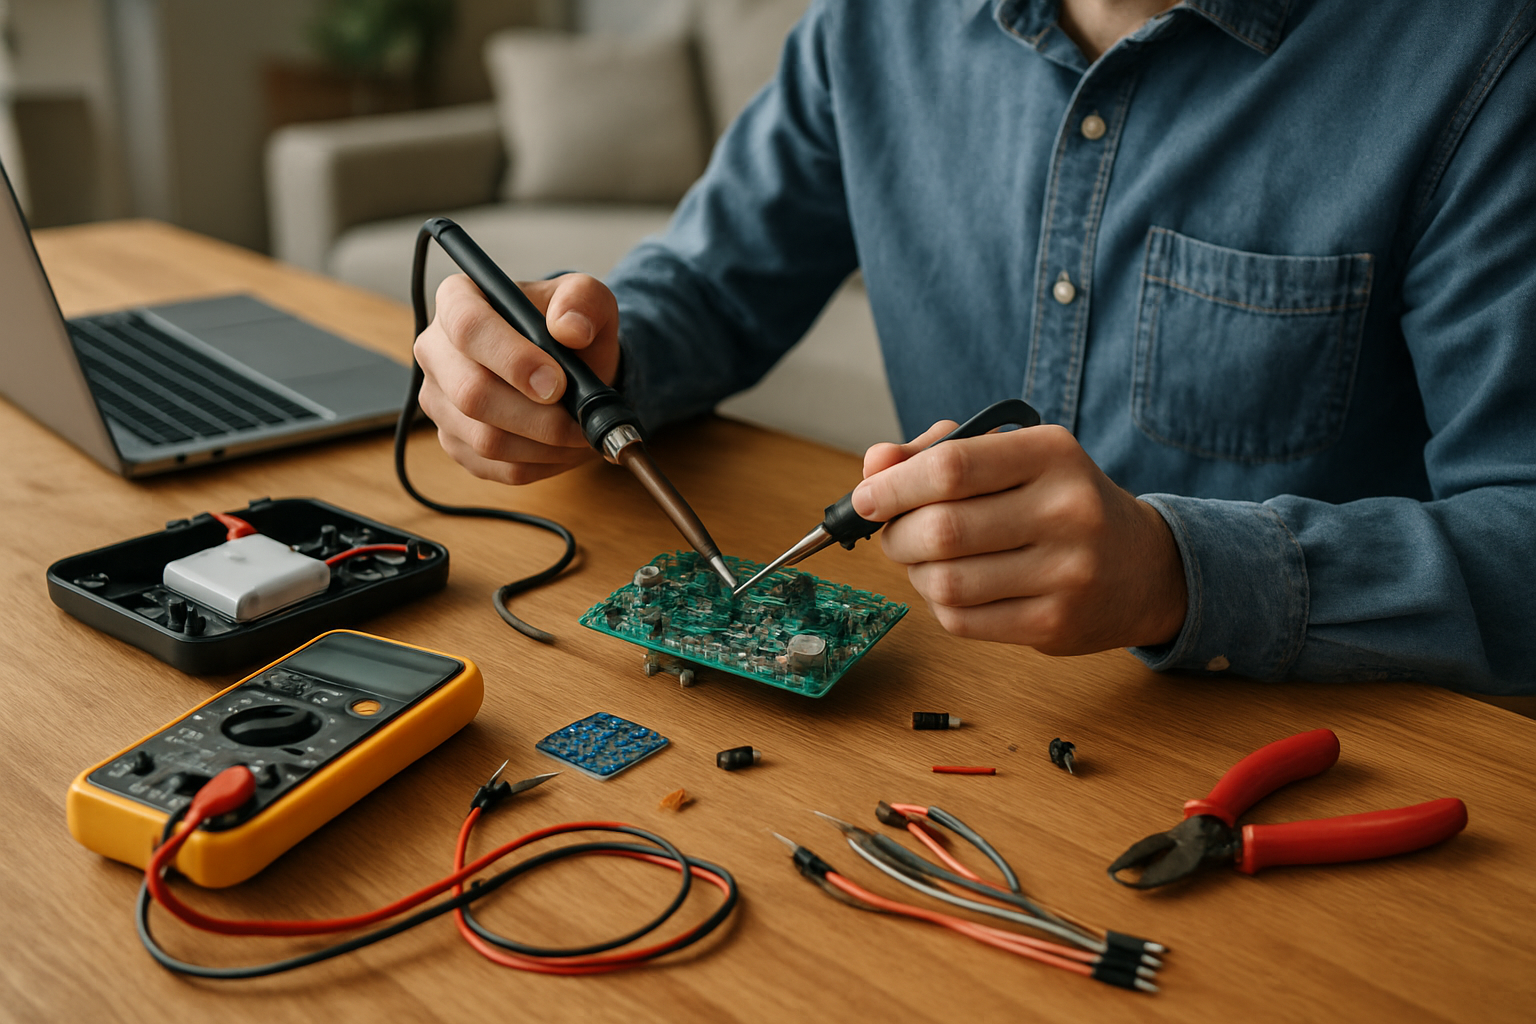
Having the right tools and materials is crucial for successfully creating electronic devices at home. A basic electronics toolkit typically includes a soldering iron, multimeter, wire cutter, and breadboard. Soldering irons are used for creating permanent connections, while multimeters are essential for measuring voltage, current, and resistance. A breadboard allows for prototyping circuits without soldering, making it easier to experiment with different designs. Additionally, having a collection of wires, connectors, and various electronic components will facilitate a smoother building process. Organizing your workspace and keeping tools accessible can enhance efficiency and encourage creativity in your projects.
Basic Tools You Need
Essential tools for home electronics projects include a soldering iron for making connections, a multimeter for testing circuits, and wire cutters for trimming components. A breadboard is also invaluable for prototyping circuits without soldering. Investing in these tools will significantly ease the building process and improve project outcomes.
Choosing Materials Wisely
When selecting materials for your projects, prioritize quality and compatibility. Use proper gauge wires to handle the current load and select components that meet your circuit design requirements. Additionally, organizing your materials will save time and streamline your workflow. Consider sourcing components from reputable suppliers to ensure reliability.
Key Points:
- Having the right tools can significantly ease the electronics building process.
- Choosing quality materials ensures better performance and reliability in your projects.
Basic Components for DIY Electronic Devices
To start making electronic devices at home, you need a clear understanding of the basic components involved. These typically include resistors, capacitors, diodes, and transistors. Each component serves a specific function and can be combined in various ways to create different devices. Familiarizing yourself with the purpose and functionality of each component is essential for successful projects. Additionally, you will need a soldering iron, a breadboard, and wires for assembling your devices. Understanding how to use these tools safely and effectively can significantly enhance your DIY experience.
Understanding Resistors and Capacitors
Resistors limit the flow of electric current, while capacitors store and release electrical energy. Knowing how to calculate resistance and capacitance values is crucial for circuit design. Use Ohm’s Law to determine the appropriate resistor for your project, and understand how capacitors can smooth out voltage fluctuations in your circuits.
The Role of Diodes and Transistors
Diodes allow current to flow in one direction, acting as a one-way valve for electricity. Transistors can act as switches or amplifiers in circuits. Learning how to implement these components can enable you to create more complex electronic devices, such as amplifiers or signal processors.
Key Points:
- Familiarity with basic components is vital for DIY electronics.
- Understanding the function of each component allows for better project planning.
💡 Always test components with a multimeter before use to ensure they are functioning properly.
💡 Start with simple projects to build confidence and familiarity with each component.
Building Your First Electronic Device
Once you have the necessary components, the next step is to build your first electronic device. Start with a simple project, such as a LED circuit or a basic amplifier. This will allow you to practice your soldering skills and understand circuit connections. It’s important to follow a schematic diagram, which shows how components are interconnected. This practice will enhance your troubleshooting skills as you learn to identify and fix issues in your circuits.
Gathering Tools and Materials
Before starting your project, ensure you have all necessary tools and components. A soldering iron, wire cutters, and a breadboard are essential. Gather materials such as LEDs, resistors, and batteries according to your schematic. Having everything ready will streamline the building process and reduce frustration.
Following Schematics and Testing
Use schematic diagrams to guide your assembly. These diagrams will indicate where to place each component and how to connect them. After building, test your device with a multimeter to check for proper connections and functionality. If the device doesn’t work, troubleshoot by checking each connection and component.
Key Points:
- Start small to build confidence in your skills.
- Schematic diagrams are essential for successful assembly and troubleshooting.
💡 Use a breadboard for initial tests; it allows for easy adjustments without soldering.
💡 Document your process to learn from mistakes and successes for future projects.
EXPERT TIPS Pro Advice
Learn basic circuit theory.
Understanding the fundamentals of voltage, current, and resistance can greatly enhance your ability to design and troubleshoot electronic devices.
Experiment with different components.
Trying various components can lead to creative solutions and innovations in your projects, expanding your skills and knowledge.
Join online DIY communities.
Engaging with fellow enthusiasts can provide valuable resources, support, and inspiration for your projects.
Keep a project journal.
Documenting your projects helps you track your progress and reflect on lessons learned, improving future endeavors.
Frequently Asked Questions
Conclusion
Making electronic devices at home is an accessible and rewarding hobby for anyone interested in technology. Start with basic materials and simple projects to build your skills. Utilize online resources to learn and troubleshoot effectively, ensuring safety throughout the process.
🎯 Key Takeaways:
- Gather essential materials before starting any project.
- Begin with simple projects to build your confidence.
- Use a breadboard for easy prototyping and modifications.
- Learn from free online resources and tutorials.
- Always prioritize safety while working with electronics.
Expert Advice: Stay curious and patient as you learn. Experimenting will deepen your understanding of electronics. Don’t hesitate to seek help from online communities when you face challenges.
Explore online tutorials and start your first project today to unleash your creativity in electronics!
Leave a Reply