
How to Make Electronic Projects at Home: Your Complete Guide
Are you interested in how to make electronic projects at home but unsure where to start? With the rise of DIY culture, creating your own electronic projects has never been more accessible or rewarding. Whether you’re a complete beginner or have some experience, this guide will equip you with the knowledge and skills needed to embark on exciting electronic ventures from the comfort of your home. You’ll learn about essential tools, basic components, and step-by-step instructions for various projects that will ignite your creativity and technical skills. Join us as we explore the fascinating world of home electronics and empower your DIY journey.
Understanding Basic Electronics Concepts
Before diving into electronic projects at home, it’s essential to grasp fundamental concepts of electronics. This includes understanding voltage, current, resistance, and how they interact through Ohm’s Law. Knowledge of these basics allows you to troubleshoot and design more effectively. Familiarizing yourself with circuits, both series and parallel, is also crucial. These concepts form the building blocks for more complex projects and help you understand how components like resistors, capacitors, and transistors function together. A solid grasp of these principles will enable you to approach projects with confidence and creativity.
Key Electrical Terms
Understanding key terms such as voltage (the potential difference), current (the flow of electrons), and resistance (the opposition to current) is vital. These terms are the foundation of all electronic projects. Knowing how to measure these with a multimeter can help you troubleshoot issues in your circuits effectively.
Circuit Types
Familiarize yourself with different types of circuits, primarily series and parallel circuits. Series circuits have components connected along a single path, while parallel circuits have multiple paths for current. Knowing the difference helps in designing circuits that meet specific project requirements and understanding how components will behave under different configurations.
Key Points:
- Grasping basic concepts is essential for effective project execution
- Understanding circuit types aids in design and troubleshooting
Essential Tools and Materials for Home Electronics Projects
Equipping yourself with the right tools and materials is crucial for successful electronic projects at home. Basic tools include a soldering iron, multimeter, wire cutters, and a breadboard for prototyping. Soldering irons allow for permanent connections, while multimeters help measure voltage, current, and resistance. A well-stocked toolbox ensures that you can tackle a variety of projects without unnecessary delays. Furthermore, sourcing materials like resistors, capacitors, LEDs, and microcontrollers prepares you for a range of potential projects, from simple circuits to more complex programmable devices.
Basic Tool Set
Having a basic tool set is the first step toward successful electronics projects. Essential tools include a soldering iron for making permanent connections, wire strippers for preparing wires, and a multimeter for measuring electrical properties. These tools will help you build and troubleshoot your projects effectively.
Common Components
Stocking common electronic components is essential for project flexibility. Basic components include resistors, capacitors, diodes, and LEDs. Understanding the function of each component helps you design circuits efficiently and troubleshoot problems as they arise.
Key Points:
- A basic tool set is fundamental for executing various projects
- Stocking common components ensures project flexibility and ease of problem-solving
Essential Tools for Home Electronics Projects
Having the right tools is crucial for successfully making electronic projects at home. Start with a basic toolkit that includes a soldering iron, wire cutters, and a multimeter. These tools enable you to assemble components efficiently and test your circuits. Additionally, investing in a breadboard allows for easy prototyping without soldering, making it simpler to experiment with designs. For more complex projects, consider adding a digital oscilloscope and a function generator, which help in diagnosing circuit behavior and testing signals. Understanding how to use each tool is vital for troubleshooting and enhancing your projects.
Basic Hand Tools
Basic hand tools include wire strippers, pliers, and screwdrivers. These tools are essential for preparing components and assembling circuits. Familiarize yourself with how to use them effectively to ensure safe and efficient work. Proper use minimizes the risk of damaging components.
Testing Equipment
Testing equipment, such as multimeters and oscilloscopes, are crucial for verifying circuit functionality. A multimeter can measure voltage, current, and resistance, while an oscilloscope visualizes waveforms. Learning to use these tools enhances your ability to troubleshoot and optimize your projects.
Key Points:
- Right tools simplify project execution and enhance quality.
- Testing equipment is essential for troubleshooting and validation.
💡 Always double-check your circuit connections before powering on to prevent shorts.
💡 Invest in quality tools; they can significantly impact the ease and quality of your work.
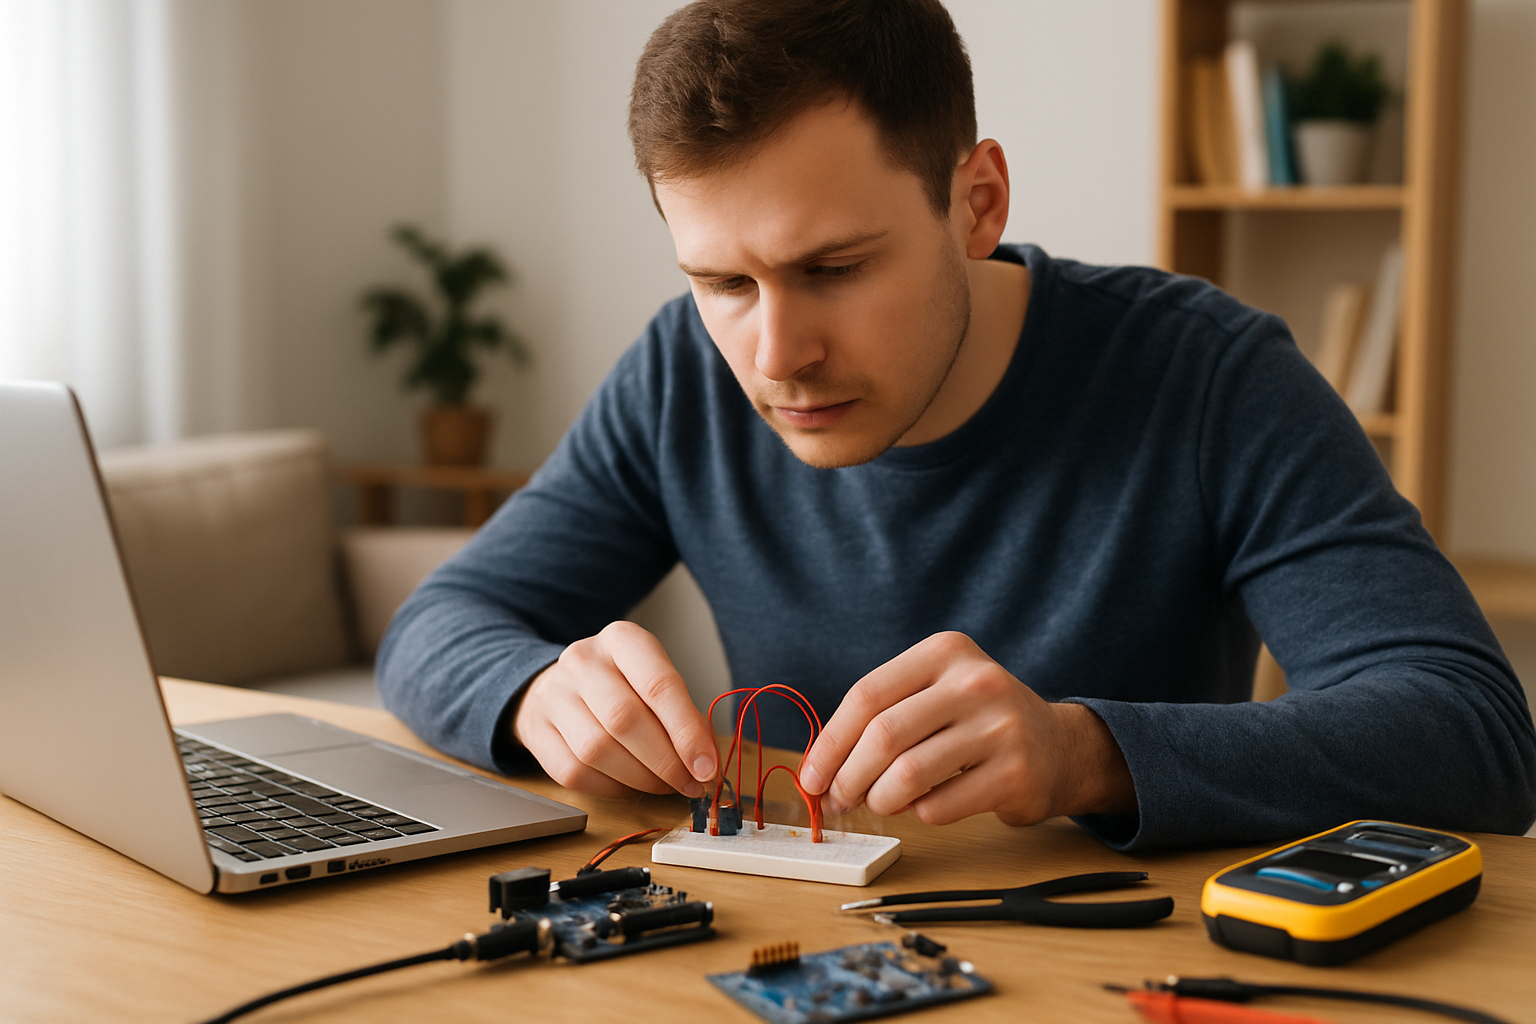
Designing and Prototyping Your Projects
Designing and prototyping are critical stages in creating electronic projects at home. Start by sketching your project idea and developing a schematic, which outlines how components connect. Software tools can assist in circuit design and simulation, allowing you to visualize functionality before physical assembly. Once your design is ready, move to prototyping on a breadboard, where you can make adjustments easily. This iterative process helps identify potential issues early, saving time and resources. As your design matures, consider creating a printed circuit board (PCB) for a more permanent solution.
Creating Schematics
Begin with creating a schematic diagram that illustrates how your components interact. Use free or open-source software for schematic design, which allows for easy modifications. A clear schematic serves as a roadmap for your project, reducing errors during assembly.
Prototyping Techniques
Prototyping techniques involve using a breadboard to assemble your circuit without soldering. This allows for easy modifications and testing. Ensure your components are compatible with the breadboard’s layout, and use jumper wires to connect them as per your schematic.
Key Points:
- Schematic design is essential for clear project guidance.
- Prototyping allows for flexibility and testing before finalizing designs.
💡 Iterate your design multiple times; early mistakes are easier to fix than later ones.
💡 Document your process; keeping notes on what works and what doesn’t helps in future projects.
EXPERT TIPS Pro Advice
Start with simple projects.
Beginner projects build confidence and foundational skills, making advanced projects more manageable.
Join online maker communities.
Engaging with others can provide support, inspiration, and troubleshooting help, enhancing your learning experience.
Keep your workspace organized.
An organized workspace reduces the risk of losing components and makes your project more enjoyable to work on.
Practice safety precautions.
Always use safety gear, especially when soldering, to protect yourself from burns and toxic fumes.
Frequently Asked Questions
Conclusion
Making electronic projects at home is an engaging way to learn about technology and develop practical skills. By starting with simple projects and gradually tackling more complex designs, you can build a strong foundation in electronics. Utilizing available resources and safety precautions will enhance your learning experience.
🎯 Key Takeaways:
- Start with simple projects to build confidence.
- Source materials from local stores or online suppliers.
- Recycling materials can make projects more affordable.
- Practice safety measures to prevent accidents.
- Engage with communities for support and ideas.
Expert Advice: Embrace the learning journey and don’t hesitate to experiment. Each project is an opportunity to enhance your skills and creativity. Stay curious and keep challenging yourself with new ideas.
Begin your electronic project today by selecting a simple idea and gathering your materials!
Leave a Reply